Grouping Rows in Structured Data | |||
| |||
Click
 on the page toolbar.
Some pages have row grouping defaults selected. If so, when you open the page, the row grouping toolbar already shows.
The page adds the Group By toolbar beneath the page toolbar.

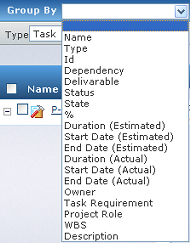
From each drop-down list, select the column to use for grouping the rows. Not all columns can be used for grouping rows.
If a column is in a group, the group header follows the column name in parentheses:
This format is especially helpful when the page includes more than 1 column with the same name.
Click Apply.
For example, this page groups first by State, then by Type, then by Description. This company uses consistent terminology for the Description field, otherwise it would not make sense to group by a freeform text field.
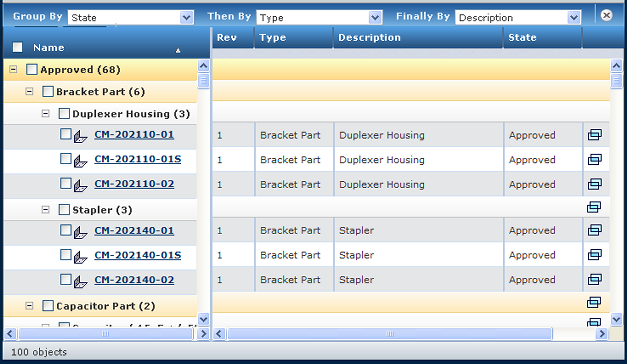
The number in parenthese after the row group title shows how many rows have that value. In the above example, 68 items are in the Approved state, and there are 6 rows of Bracket Parts.
You can use the sort, filter, and export tools on the grouped rows.
Click
or the X in the toolbar to hide the toolbar.
If you edit a structured data page that has grouped rows, and your edit would result in that row moving to a different group (such as changing a Description in the above example), the row is not moved to that grup until you click Apply for the page to accept your edits.
To remove row grouping from a page, follow these steps:
- Click to show the toolbar.
- Click Reset.
- Click to hide the toolbar.
The drop-down fields are cleared and the page is reformatted to its original structure.
- Click