Creating a Delivery | ||
| ||
In the global toolbar, click
 >
Apparel Administration > Channels.
Click
 to open a channel's Properties page.
From the page toolbar, click Categories > Deliveries.
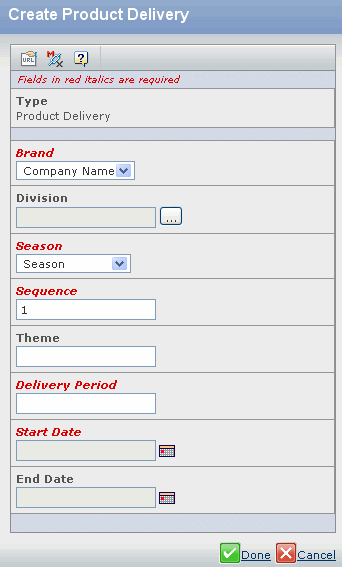
From the Delivery page Actions menu, click Create Delivery. A Create Product Delivery form opens where you can specify the following information:

Field Name How to Enter Brand Select the company name from the drop-down list. Season Select a relevant season from the drop-down list. Sequence Specify the sequence. Start Date Specify the start date. Division Enter wildcard character (**) to select the available division or click  to search for and select a division.
Theme Specify the theme. Delivery Period Enter the period for the delivery, for example January, Fall. You can edit the delivery period, but can delete the entry only if it is not used by other functions in the system. Note: If the period is entered at the Brand Level, it is valid for all divisions under the brand. If a division is selected, the period is valid for the selected division and its brand.
End Date Specify the end date. Click Done.