From the global toolbar, click Style Design > Library > Fabrics.
The Fabrics page opens listing all the available fabric records.
Click Name of a fabric record or click  at the end of the row.
The fabric Properties page opens.
at the end of the row.
The fabric Properties page opens.
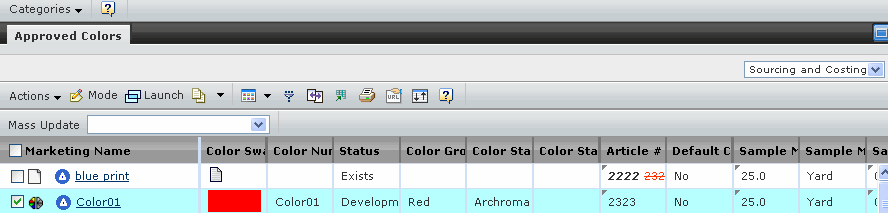
From the page toolbar, click Categories > Approved Colors. The Approved Colors
page opens and consists of two tabs, namely Approved Color and Fabric
Cost.
Select Sourcing and Costing from the top right drop-down list.
From the Approved Colors tab toolbar, click Mode to switch from view
mode to edit mode.
You can modify the following parameters:
Article # - Enter the color article number.
Sample Minimums by Color - Enter the minimum of the samples which are
requested by colors.
Sample Lead Time - Enter the lead time, in number of days, for the
fabric sample to be produced and delivered from the factory to the production
office/agent.
Bulk Minimums by Color - Enter the minimum of the bulks which are
requested by colors.
Bulk Lead Time - Enter the lead time, in number of days, for fabric
bulk production.
Production Dying Lead Time - Enter the lead time, in number of days,
for the fabric dying process.
Click Apply.
Select the color or print that you want to select as default cost color
by using the selection check box.
From the Approved Colors tab toolbar, click Actions > Set Default
Cost Color to change the selected color or print to default cost color.