Creating the Country of Sale and the Language Option | |||
| |||
Create the Country of Sale
You can create a Country of Sale.
Select Configuration Options tab in the Company Name Product Line page.
The Configuration Options page appears.
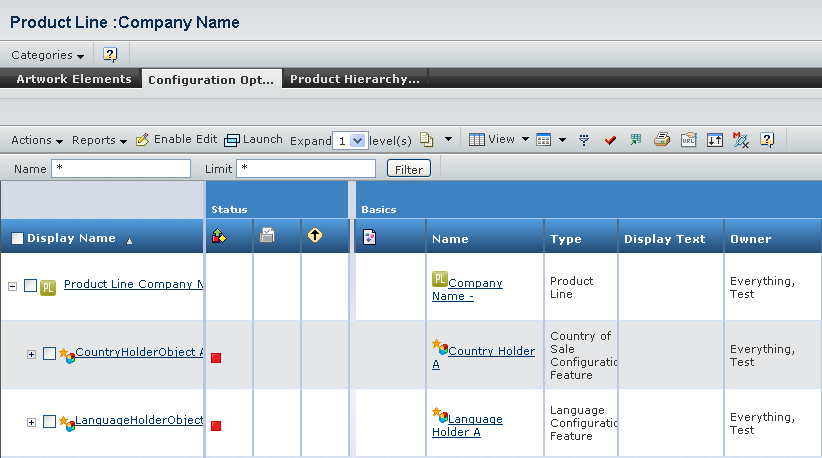
Select Actions > Create Country of Sale.
The Create Country Of Sale page appears.
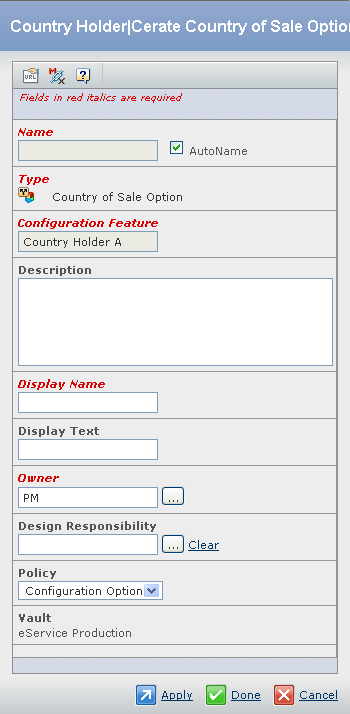
Enter the following details about the Country of Sale.
Fields in red and italics are mandatory attributes.
- Select the AutoName checkbox to assign a name automatically, to the new Country of Sale option. By default, the AutoName checkbox is selected. You can also clear the AutoName checkbox and in the Name box, type the name for the new Country of Sale option. Special characters are not allowed.
- In the Description box, type the description for the new Country of Sale option.
- In the Display Name box, type the display name for the new Country of Sale option.
- In the Display Text box, type the display text for the new Country of Sale option.
- Click the
 corresponding to the Owner, to assign an owner for the new Country of Sale option.
 - Click the corresponding to the Design Responsibility, to assign an organization the design responsibility.
- Select a policy from the list. By default, Configuration Option is selected.
![]()
Create the Language Options
You can create the Language option.
Select Configuration Options tab in the Company Name Product Line page.
The Configuration Options page appears.
Select Actions > Create Language Options.
The Create Language Option page appears.
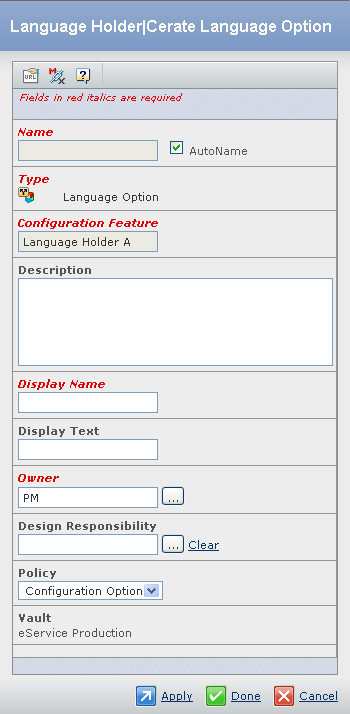
Enter the following details about the Language Option.
Fields in red and italics are mandatory attributes.
- Select the AutoName checkbox to assign a name automatically, to the new Language option. By default, the AutoName checkbox is selected. You can also clear the AutoName checkbox and in the Name box, type the name for the new Language option. Special characters are not allowed.
- In the Description box, type the description for the new Language option.
- In the Display Name box, type the display name for the new Language option.
- In the Display Text box, type the display text for the new Language option.
- Click the corresponding to the Owner, to assign an owner for the new Language option.
- Click the corresponding to the Design Responsibility, to assign an organization the design responsibility.
- Select a policy from the list. By default, Configuration Option is selected.