From CATIA, click ENOVIA V6 > New or click <New Icon> from the ENOVIA V6 toolbar to open the New dialog box.
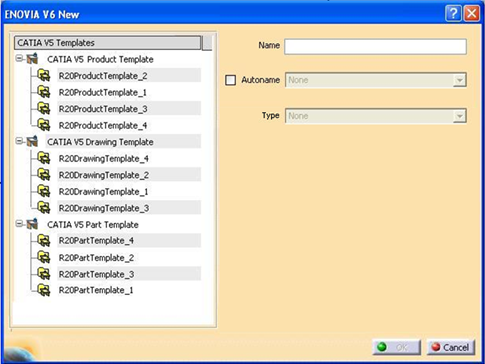
In the ENOVIA V6 New dialog box, do the following:
- Select a template from the CATIA V5 Templates list. All available templates are listed and grouped by document type.
Note:
Only CATProduct, CATPart,
and CATDrawing
templates are supported.
- Use the following steps to specify the name of the new document:
- Either enter a name in the Name field or select the Autoname checkbox and choose an Autoname series from the drop-down list.
Note:
Enabling
Autoname option disables the Name
field
and enables the Autoname
dropdown.
- Select an appropriate object type for the new document from the Type dropdown list.
Note:
This option is available only when a template has been selected in the CATIA V5 Template tree. The drop down only lists the ENOVIA types which are appropriate for the selected template. By default, only one type is available for each kind of template, but this may differ depending on the types set up by the administrator.
Click OK to create the document based on the selected template.
|