Use the following steps on the client machine to configure the IEF Client and the browser to work with a SSL server. These settings also should be used on FCS machine if FCS URL is also SSL enabled.
Using your browser, connect to the URL https://<MCS Server full computer name>:<https port>/<ENOVIA application name>/emxLogin.jsp.
A certificate error is displayed in the address bar.
Click Continue to this website (not recommended).
Select View certificate in the certificate dialog. Click the General tab and select Install Certificate.
Select "Trusted Root Certification Authorities" while selecting certificate store to import the certificate. Click Next and then click Finish.
A security warning message is displayed before the installation.
Click Yes.
A success message is displayed.
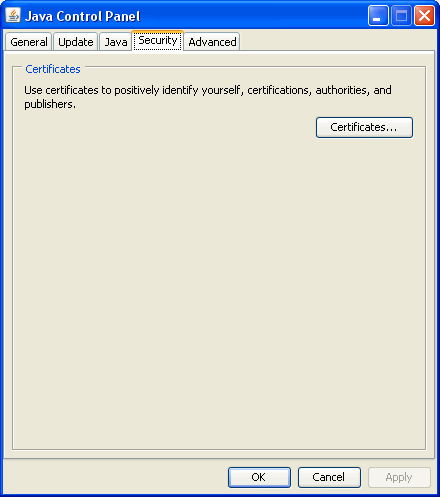
Click Tools > Internet Options > Content
tab in your browser.
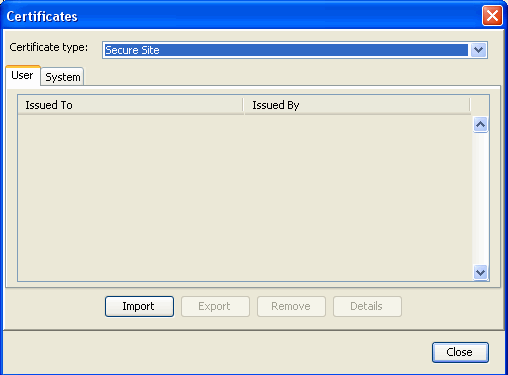
Click Certificates
and select the Trusted Root Certification Authorities tab.
Select the certificate issued to servername which is issued by servername.
Note:
servername is the full computer name of the machine on which
the
application server, in which the MCS application is deployed, is
running.
Click Export.
Click Next in the Certificate Export Wizard.
Select the default option for "Export File Format" (DER encoded binary
X.509 (.CER)) and click Next.
Enter an appropriate file name and note down the full path which
is specified.
For example, the full path can be C:\root.der.
Click Next and click Finish.
A success message is displayed.
Close other dialogs and open the command prompt.
Go to <JRE_HOME>/bin folder and then run the
following command:
:
keytool -list -keystore
<JRE_HOME>\lib\security\cacerts
Note:
For settings on the FCS server machine, replace <JRE_HOME> in the following steps with <JAVA_HOME>\jre.
Enter the keystore password.
Note:
Contact your administrator
for the keystore password.
The following information is displayed along with a list of
certificates:
Keystore type: JKS
Keystore provider: SUN
Your keystore contains <x> entries.
Import the certificate which was exported in steps 11 to 13 using the
following command:
keytool -import -alias <application server alias
name> -keystore <JRE_HOME>\lib\security\cacerts -file
<filename>
where,
filename is the full path of the file into which the
certificate was
exported in step 12.
For example, C:\root.der.
Enter the keystore password.
Note:
Contact your administrator for the keystore
password.
The information about the certificate is displayed in a confirmation message. Type Yes and press Enter.
A success message is
displayed.
In <JRE_HOME>/bin run the following command:
keytool -list -keystore <JRE_HOME>\lib\security\cacerts
Note:
For settings on the FCS server machine, replace <JRE_HOME> with <JAVA_HOME>\jre.
Enter the keystore password.
Note:
Contact your administrator for the keystore
password.
The following information is displayed along with a list of
certificates.
Keystore type: JKS
Keystore provider: SUN
Your keystore contains <x+1> entries
This message confirms that your private root certificate is added
to the Extranet server coverts keystore, as a trusted certificate
authority.
 icon to see the certificate (