Configuring | ||
| ||
Right-click ENOVIA Collaboration for Microsoft icon
 in the notification area and click Settings.
The ENOVIA Collaboration for Microsoft Configurations window appears
| Important: Whenever you make any changes to the settings, close all the MS Office applications and restart the Windows Explorer process or Log off and Login client computer. |
Configure Client
The task below explains how you can configure the client server authentication.
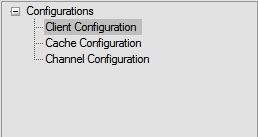
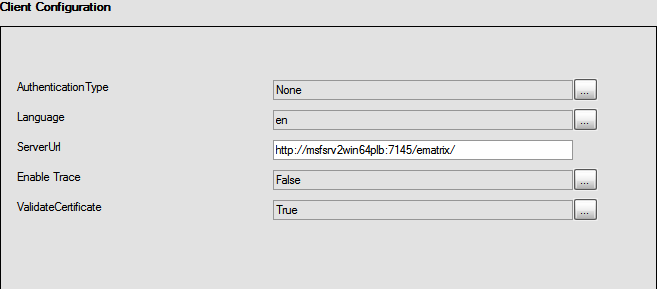
Select the Client Configuration option.
The following attributes are displayed.
Click
 and select the Authentication type from the following options.
Note: Authentication type should be selected based on the knowledge of authentication type configured for EnoviaCollaborationforMicrosoft server.
Authentication Type Description None
EnoviaCollaborationforMicrosoft Server is not configured with any external authentication.
Basic
EnoviaCollaborationforMicrosoft Server is configured to accept the client’s domain credential for authentication.
Ntlm
EnoviaCollaborationforMicrosoft server is configured with basic external authentication type. Client may need to get the required credentials from the server administrator to successfully login.
Forms
EnoviaCollaborationforMicrosoft server is configured with external form based authentication. Client may need to get the required credentials from the server administrator to successfully login.
The default value is None.
Click
and select the Language from the options.
The default value is the OS Language.
Click
and select the Enable Trace value.This value enables if the level of tracing and generation of logs. The default value is False.
Click
and select the ValidateCertifcate value.This value enables if the certificate is to be validated in case of HTTPS connections. The default value is True.
| Important: If you have changed the settings when the application is running, you have to stop and restart the MS Office and Windows Explorer applications. |
![]()
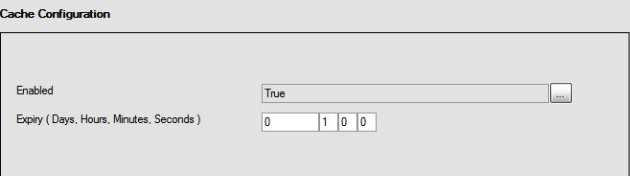
Configure Cache
The task below explains you how to configure the caching process.
ENOVIA Collaboration for Microsoft client uses caching for all the enovia folder locations used for navigation. This caching data will be cleared automatically when the client logs out of ENOVIA Collaboration for Microsoft client.
Caching can be configured to be enabled or disabled or can be scheduled to expire when it is enabled.
Note: Disabling the Cache (set to False) may degrade the performance of enovia folder navigation from EnoviaCollaborationforMicrosoft client.