Navigate to
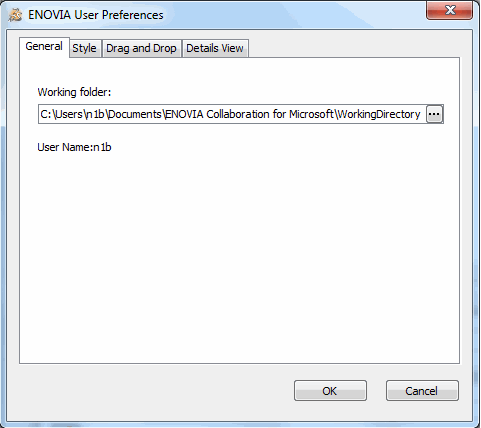
The ENOVIA User Preferences dialog box appears.

Click and browse to the appropriate folder to view the location where the downloaded files from ENOVIA are saved.
Click OK.
The Working folder location is updated.
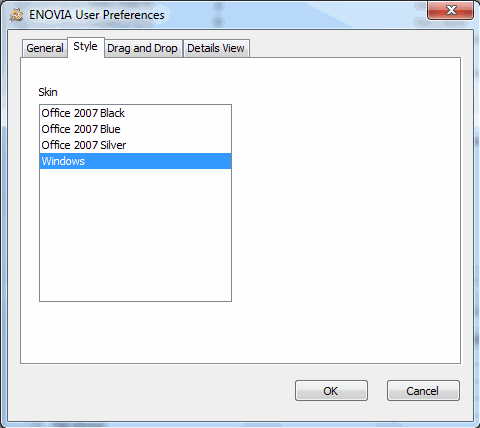
Select Style to see the available skins. Select a skin and click OK.

The skin is changed and the look and feel of the Details view and Search pane reflects the selected skin in Windows Explorer. In Microsoft Office the entire application reflects the changes. The default skin is defined according to Microsoft Office.
Select Drag and Drop tab.

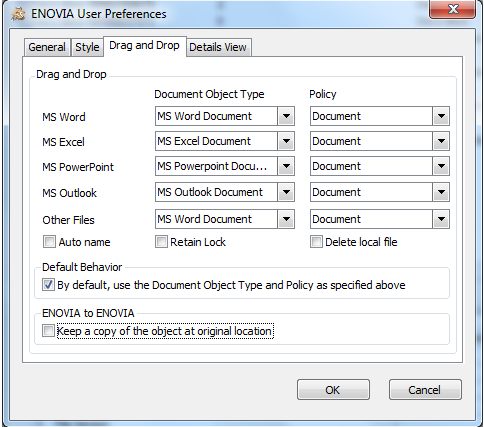
- Select the Document Object Type and its corresponding Policy for the file types.
- Select the following attributes that should be applied to the files
- Auto name - To automatically generate a name for the file.
- Retain Lock - To retain the lock of the file.
- Delete Local File - To delete the file on the local machine after saving it to ENOVIA.
- Select if you want the file to use the default Document Object Type and Policy specified above..
- Select to keep a copy of file to be maintained at both the places in two ENOVIA sessions.
- Click OK.
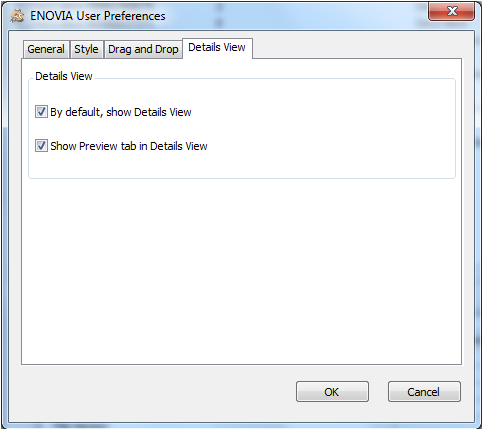
Select Details View tab.
- Select to display the Details View by default for a file.
- Select to show the Preview tab in Details View.

Click OK.