Transferring Data to X-PDM
from Authoring Window
Start V6 session.
Search and open the structure which you would like to transfer to X-PDM in CATIA V6 authoring window.
Select a node in the tree, from the Propagate option, select Ready to send to X-PDM and click Propagate.
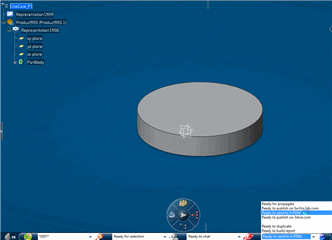
Note:
Only certain types of nodes such as Product are eligible for transfer.
To know which types of objects are supported, please refer to
Installation and Configuration | ENOVIA | Unified Live Collaboration | X-PDM Gateway - Installation |
Data Exchange mechanisms | Export
Enter the Target Site ID for which you want to send the data and click OK.
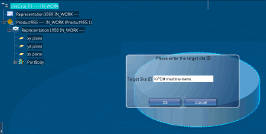
A message appears showing that data transfer request was successful.
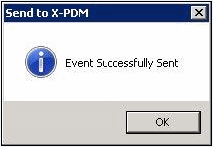
To close the window, click OK.

Transferring Data from Search
Window
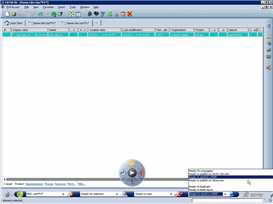
Search and select the desired object from the search
result window.
Note:
Only certain types such as Product, persistent filter or drawing representation are eligible for transfer.
To know which types of objects are supported, please refer to
Installation and Configuration | ENOVIA | Unified Live Collaboration | X-PDM Gateway - Installation |
Data Exchange mechanisms | Export
From the Propagate option, select
Ready to send to X-PDM and click Propagate.

Transferring Data from 3Dlive
or Navigation Window
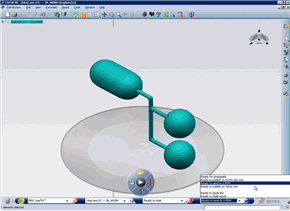
Select the desired product.
Note:
Only certain types of nodes such as Products are eligible for transfer.
To know which types of objects are supported, please refer to
Installation and Configuration | ENOVIA | Unified Live Collaboration | X-PDM Gateway - Installation |
Data Exchange mechanisms | Export
From the Propagate option, select
Ready to send to X-PDM and click Propagate.
|