Run the installer relevant to your CATIA level from the media. See Installation Prerequisites and Installers for details on the installers available for different CATIA levels.
The Welcome dialog box opens.
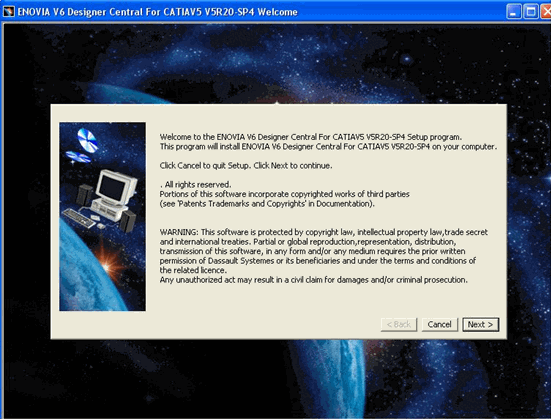
Click Next. The Choose Destination Location dialog box opens.
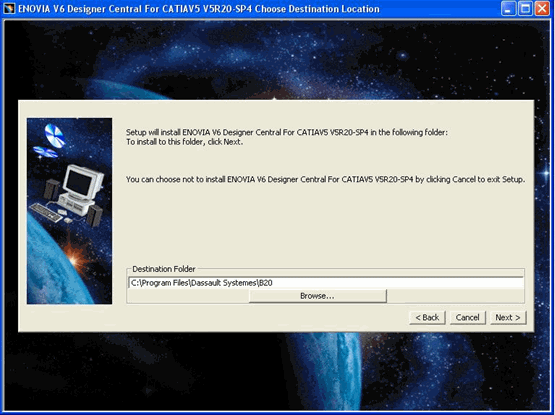
Specify the location where CATIA is installed.
Click Next. The Installed Configurations and Products dialog box opens.
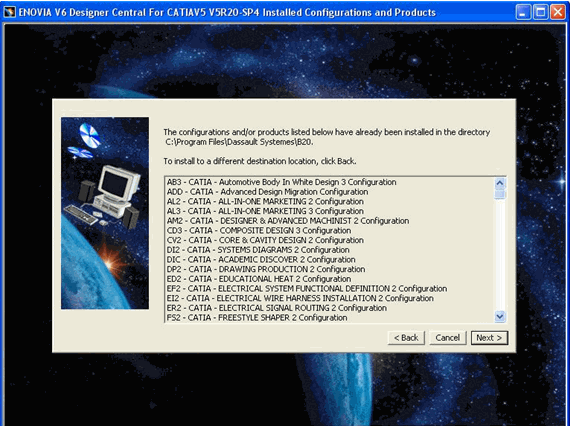
All products or configurations already installed in the
specified location are listed.
Click Next. The Setup Type dialog box opens.
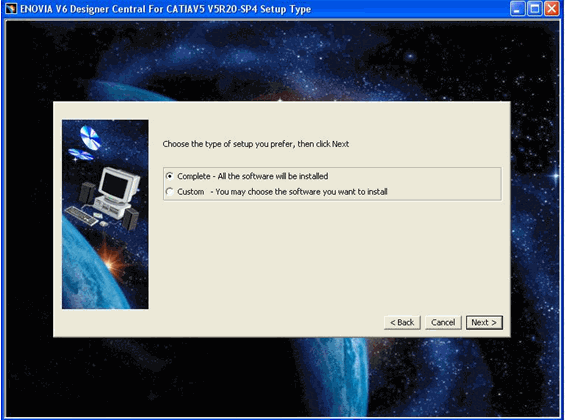
Select an install option :
- Complete--to install all available products and configurations provided
in the installer and continue with step 8.
- Custom--to choose only the components you want to install and continue
with next step.
Click Next. If Custom was selected in the previous step, the Install language specific files and fonts dialog box opens.
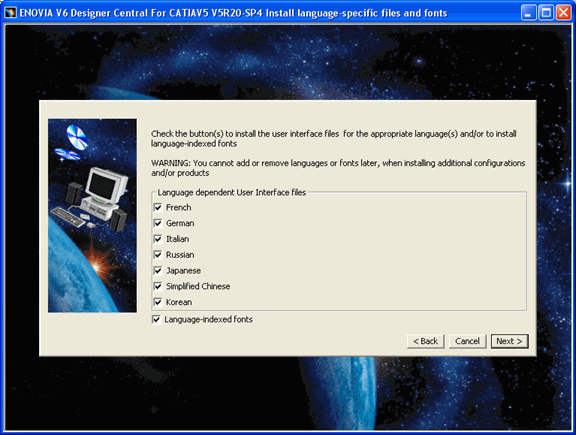
Select the required languages and click Next. The Select software dialog box opens.
Select PRODUCTS in the Choose from: drop down. The following products are listed for CATIA R19SP9 and CATIA R20SP4:
CT5 - ENOVIA Collaborative Design for CATIA V5
DCI - ENOVIA Collaborative Design for CATIA V5 Extension
Note:
Only CT5 is displayed for CATIA R20GA to SP3 levels.
Select both CT5 and DCI if you are installing Collaborative Design for CATIA V5 on CATIA R19SP9 or CATIA R20SP4 level.
Click Next. The Choose Communication Ports dialog box opens.
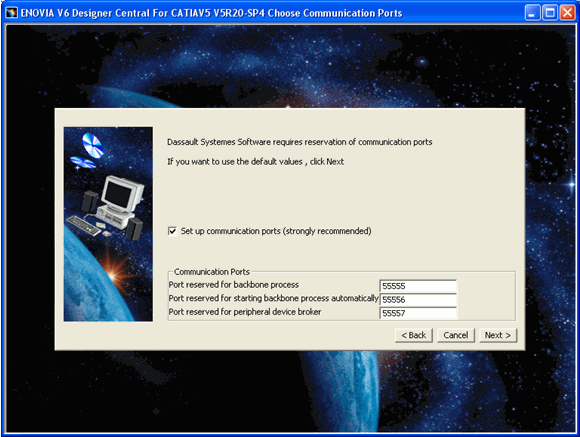
Select Setup communication ports and enter the port numbers.
Click Next. The Start Copying Files dialog box opens.
This lists details such as disk space required for installation and
the location where integration will be installed.
Click Install to start the installation progress. The Setup Complete dialog box opens.
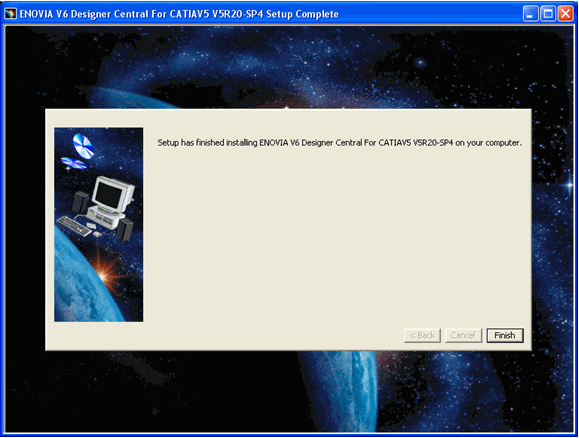
Click Finish to complete the installation.
Install or re-install the target Service Pack and HotFix. Refer the Program Directories for any mandatory minimum Hotfix level.
Note:
Ensure that CATIA R19GA or CATIA R20GA is installed before you install the respective service packs.