Building a Configurable Toolbar | ||
| ||
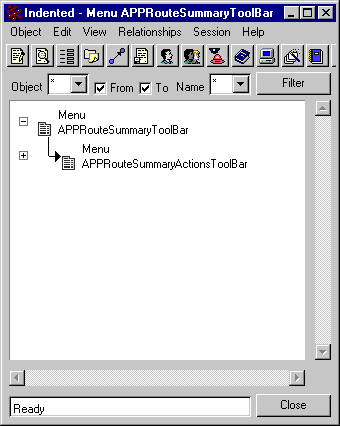
Create a menu object to represent the top-level menu. See Building a Menu.
Note: When naming commands and menus, you can use the underscore (_) and hyphen (-) characters, but no other special characters.
There are no settings needed for the top-level menu. For naming conventions, see Naming Conventions.
Create a command object for each link that users should be able to access for the page, including those that should be within a drop-down menu.
ENOVIA Business Process Services provides generic commands, such as AEFGenericDelete, that can be used in your toolbars.
For a description of how to fill in parameters and settings for toolbar link command objects, see Parameters for Toolbar Link Command Objects. For naming conventions, see Naming Conventions.
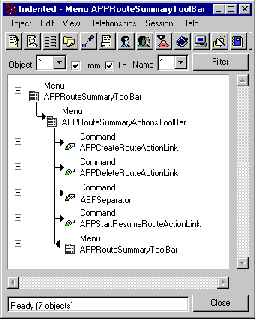
Create lower-level menu objects for each drop-down menu and assign the lower-level menu objects to the top-level menu object. For help understanding the structure, see About Toolbars.
For a description of how to fill in parameters and settings for toolbar menu objects, see Parameters for Tree Menu Objects. For naming conventions, see Naming Conventions.

For each link that you want to appear on the toolbar, and not in a drop-down menu, assign the command to the top-level menu object that you created in Step 1.
Remember to assign commands to represent separators as needed. For each separator that you want in the toolbar, assign the command AEFSeparator, which is installed by default withENOVIA Business Process Services, in the appropriate order for the top-level menu. When you add a separator command to the toolbar, it appears as a vertical line.
For each link that you want to appear in a drop-down menu, assign it to the appropriate menu.
Assign commands to represent separators as needed. For each separator that you want in the drop-down menu, assign the command AEFSeparator in the appropriate order for the menu. When you add a separator command to a drop-down menu, it appears as a horizontal line.

In the URL that calls the table page, form page, or ENOVIA portal page that you want to include the toolbar on, include the parameter:
toolbar=TOOLBARMENU
Where TOOLBARMENU is the name of the toolbar menu. Below is an example URL that includes a toolbar on a table page:
${COMMON_DIR}/emxTable.jsp?program=
emxAEFCollection:getObjects&table=AEFCollectionItems
&toolbar=AEFToolBarMenu&selection=multiple
Make sure you pass in the parameters as needed for the default links. The Help link always displays. If you do not pass in any parameters, the Printer Friendly and Export links display by default and the Tip and Conversion links do not. You can pass in parameters to have these links display or not display.
Printer Friendly=false/true
export=false/true
Tip Page=false/true
Currency Converter=false/true
If you are working with the Web-based user interface as you are making changes and want to see your changes in the user interface, click
 > Utilities > Reload Cache and click the browser's Refresh button.
The cache is refreshed automatically when the component age expires. This setting is in emxSystem.properties.
Only persons assigned to the Administration Manager role have access to the Reload Cache tool.