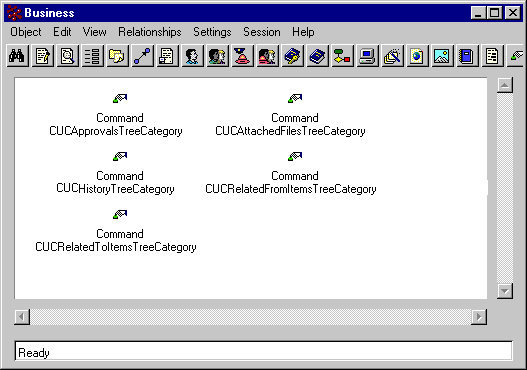
Create a command object for every category you want to include in the tree. You can
use command objects in multiple menus and trees. If you have already created a
command for the category, you do not have to create another command object.
You need to define these items for the command:
- The page to display when
a user clicks the tree category
- How the page should appear
- Who can access the page
For
details about the available parameters and settings for tree category commands,
see Parameters for Tree Category Command Objects. For naming conventions, see
Naming Conventions.
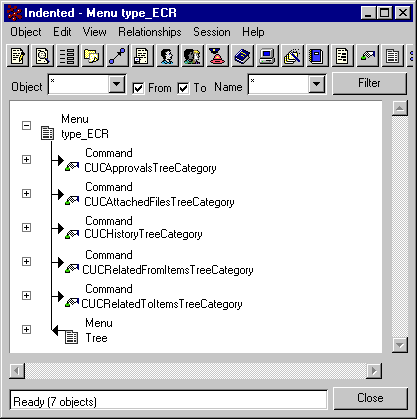
Create a menu object for the tree and make sure the object's name is the symbolic
name for the tree type. For example, the tree for parts is named type_Part. Although not recommended,
you can use the treeMenu parameter for emxTree.jsp to create a custom tree menu for
an object type and override the standard tree menu. For object types used in multiple
applications (such as Part, Buyer Desk, Person), use alternate trees. For
more information, see Specific Trees for an Object Type.)
When you create a menu object for a tree, you define how the tree should appear, and
the categories it should include. For a description of how to fill in the parameters and
settings for tree menu objects, see Parameters for Tree Category Command Objects.
Assign the command objects for the tree categories to the menu object for the tree. In
Business Modeler, the order the commands are listed in the Items tab of the Create or Edit
Menu dialog box are the order they appear in the tree. To change the order, use drag-and-drop.
To assign a sub-tree within the tree, assign the menu object that represents the
sub-tree to tree menu object.
Connect the menu object for the tree you created in Step 2 to the Tree menu object
installed with ENOVIA Business Process Services.
This graphic shows the menu object for ECRs with the connected command objects
for categories and the connected Tree menu object.
Make sure the tree's object type has an icon defined in emxSystem.properties (or you
can use the default icon.) For information, see About the Icon for a Type's Tree.
Call emxTree.jsp and specify the parameters to display the tree and associated page.
Here are some example href values for updating a tree from a JSP. For a description
of the parameters, see URL Parameters Accepted by emxTree.jsp.
<a href="../common/emxTree.jsp?objectId
=<%=sPartId%>&mode=insert&jsTreeID
=<%=jsTreeID%>" class="object" target="content"><%=sPartName%></a>
<a href="../common/emxTree.jsp?objectId
=<%=OID%>&mode=replace&jsTreeID=<%= jsTreeID%>" class="object"
target="content"><%=sRTSname%></a>
<a href="common/emxTree.jsp?objectId
=<%=sPartId%>&mode=insert&jsTreeID=" class="object"
target="content"><%=sPartName%></a>
<a href=javascript:window.open("../common/emxTree.jsp?objectId
=<%= sPartId%>&mode=insert&jsTreeID=<%=jsTreeID%>")
"><%=sPartName%></a>
Set the target frame to content, which is the
parent frame for the treeDisplay frame. The first three examples above specify the
content frame. Alternatively, you can open the tree in a new window, as shown in the
last example. In this case, you do not specify a target frame.
Whenever the system calls a new tree, it
automatically updates the right side frame, called detailsDisplay, with the URL and displays the new tree as the Categories menu. The
URL is set in the href parameter of the menu object associated with the tree.
If you are working with the Web-based user interface as you are making changes and
want to see your changes in the user interface, select and click the browser Refresh button.
The cache refreshes automatically when the component age expires. This setting is in
emxSystem.properties.
Only users assigned to the Administration Manager role have access to the Reload Cache
tool.
 > Utilities > Reload Cache and click the browser Refresh button.