Creating a Compatibility Rule | |||||||
|
| ||||||
To create a compatibility rule, from the page Actions menu, click Create.
The Create Boolean Compatibility Rule page opens.
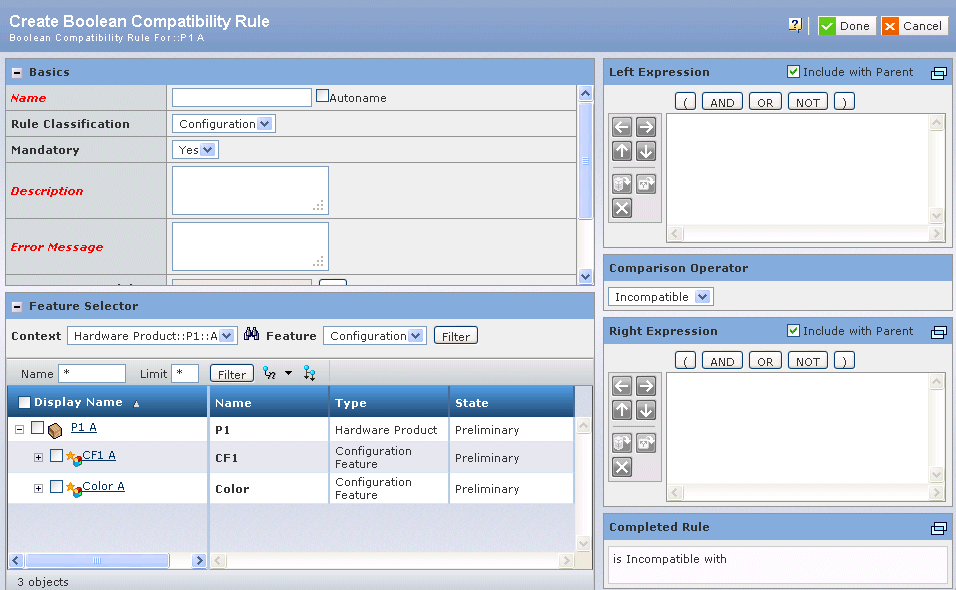
Type the details, as necessary. The following can be defined in the Basics component:
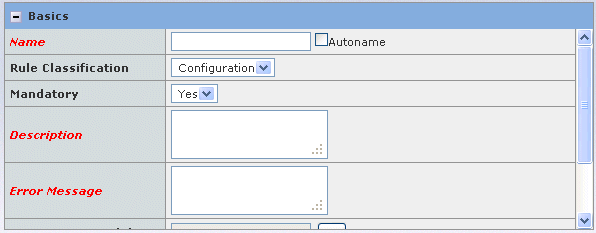
Basics Component Field Description Name Type the name of the new compatibility rule or check Autoname for the system to assign a name automatically. This field is required. Rule Classification Select the rule type: Configuration, Logical, or Manufacturing Mandatory Select either Yes or No. Features and rules can be defined as mandatory or non-mandatory. A feature or rule that is mandatory is inherited by all lower level models and products. Mandatory features and rules are maintained at the product line level and promote product consistency. Description Type details that describe the rule. This field is required. Error Message Type an error message that explains the rule. This field is required. If a product configuration fails when it is validated, an error icon appears beside the feature that was the cause. Clicking the error icon brings up the error message that is entered in this field.
Design Responsibility Click  to select the organization
or project that has design responsibility for the rule. For details, see Assigning Design Responsibility.
to select the organization
or project that has design responsibility for the rule. For details, see Assigning Design Responsibility.Vault If you want to use a vault other than the default, click  to select a different
vault to specify where the rule information will be stored in the database.
For details, see
the BPS - AEF User guide.
to select a different
vault to specify where the rule information will be stored in the database.
For details, see
the BPS - AEF User guide.Policy The policy is Rule. Note: You can collapse and expand the Basics and Feature Selector components with the
 and
and  controls to provide additional space for creating rules. Any
data entered is saved when the component is collapsed and reappears
when the component is expanded.
controls to provide additional space for creating rules. Any
data entered is saved when the component is collapsed and reappears
when the component is expanded.Select the features you want to include in the rule using the Feature Selector component.
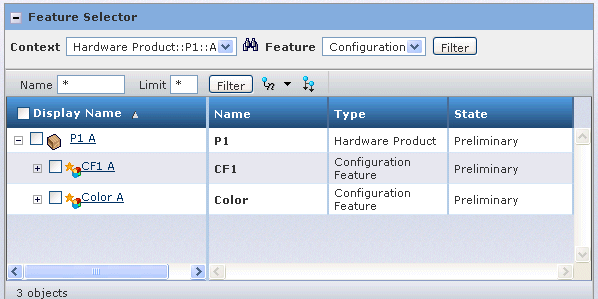
- Select the context object and feature type.
Feature Selector Component Field Description Context Click  to search for and select the source objects for the
rule. The following types are displayed in the Search window:
to search for and select the source objects for the
rule. The following types are displayed in the Search window:- Configuration Feature
- Logical Structure
- Model
- Product Line
- Product
You can select only one object from the search results at a time. This object is added to Context drop-down list. You can search for and select an object to add to the list as many times as needed. Each selected object remains in the list.
The feature structure of the object selected from this drop-down list is shown in the structure browser below the Name field.
Feature From the drop-down list, select the type of features you want to show: Configuration or Logical. Click the Filter button to the right of Feature to filter the objects displayed by feature type.
- Enter a name pattern and maximum number of objects to display.
Feature Selector Component Field Description Name If you want to filter the objects by name, enter one or more characters in this field. Leaving the default '*' matches all names. Limit If you want to limit the number of displayed objects, enter a number of 1 or greater. Leaving the default '*' places no limit the number of objects displayed. Click the Filter button to the right of the Limit field to filter the displayed objects by Name and Limit.
- Expand the object displayed in the structure browser to the desired number of levels:
- To expand the object up to five levels deep, click
 , then select a number from 1 to 5.
 - To expand all levels, click
 and then select All, or simply click
  .
.
The structure browser table includes the following columns with information on the displayed features:
Feature Selector Structure Browser Column Description Display Name The name and revision of the object Name The name of the object Type The object type (e.g., Hardware Product) State The state of the object in its lifecycle (e.g., Preliminary) - To expand the object up to five levels deep, click
- Select the context object and feature type.
Define the left side of the expression with the Left Expression component.
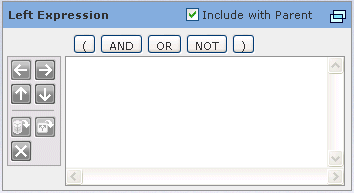
- Check the Include with Parent box if you want features to be inserted in the expression fields in full context.
- Select one or more features from the Feature Selector and click
 in the Left Expression field. The feature is added to
the left expression.
in the Left Expression field. The feature is added to
the left expression.Additionally, you can use the selector next to a feature to view and add that feature's subfeatures to either the left or right expression in the rule.
Note: Neither Product Line nor Model can be inserted in the Left or Right Expression.
Each time the rule is modified, the Completed Rule field is updated.
-
Click one of the boolean operators:
 ,
,  ,
,  . Use
. Use  and
and  to form the boolean expression.
-
Click
 to remove an item from the expression.
-
Click
 or
or  to navigate through the expression.
-
Click
 to remove a feature.
-
Click
 to remove an option.
-
Click
 to clear the expression.
- Repeat the above until the required left expression is formed.
Select a Comparison Operator from the drop-down list.

- Incompatible. If two options cannot be included together, they are Incompatible.
- Requires. If option A must be included whenever option B is included, but B doesn't have to be included when option A is included, then B requires A.
- Co-Dependent. If two options must be included together, they are Co-Dependent.
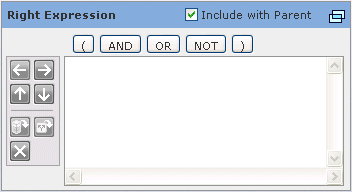
Define the right side of the expression with the Right Expression component. See the steps described for Left Expression, above.
Review the complete rule definition in the Completed Rule component.

When you are satisfied with the rule definition, click Done in the upper right-hand corner of the Create Boolean Compatibility Rule window.
Note: The same view is available for both the Left and Right Expressions.