Creating a New Issue | ||
| ||
From the global toolbar, click
 > Issues > Create Issue, or if the Semiconductor Accelerator for IP Managementor ENOVIA Semiconductor Accelerator for Team Collaboration
is installed, select
> Issues > Create Issue, or if the Semiconductor Accelerator for IP Managementor ENOVIA Semiconductor Accelerator for Team Collaboration
is installed, select  > Help desk > Create Issue.
Or
Click Create New or from the page Actions menu or toolbar on any Issues list page.
Or
Click
> Engineering > Change > Create Issue from the global toolbar.Or
-
From the Actions menu, select Create Issue. The Create New Issue page
opens.
If the DesignSync object you selected has an associated object in ENOVIA, the Create New Issue page fills in the object name in the Reported Against field.
If the DesignSync object does not have an associated ENOVIA object, the system either automatically creates the object or shows the Connect to DesignSync Object page. Your System Administrator configures this functionality. If this page opens, see Creating a New Document for details. Either way, a new business object is created and the name of this object is entered in the Reported Against field.
You may see a subset of the following fields depending on the ENOVIA products installed.
-
From the Actions menu, select Create Issue. The Create New Issue page
opens.
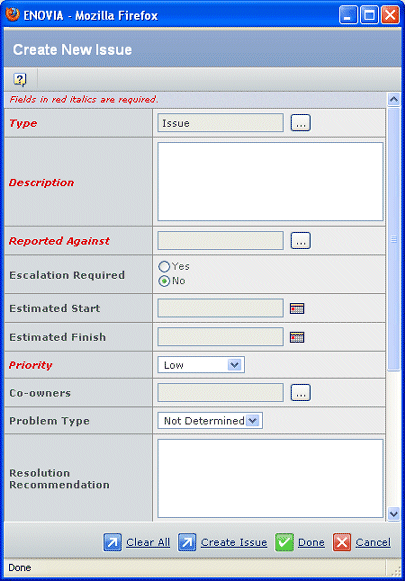
Enter details about the issue:
Field Name Description Type Leave the value as Issue unless there is another type. If another type is defined for creating issues, click  to select that type. See Selecting a Type
for using the Type selection page.
to select that type. See Selecting a Type
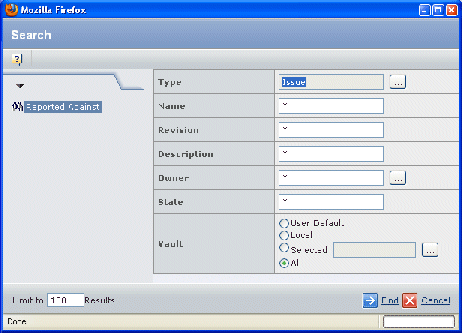
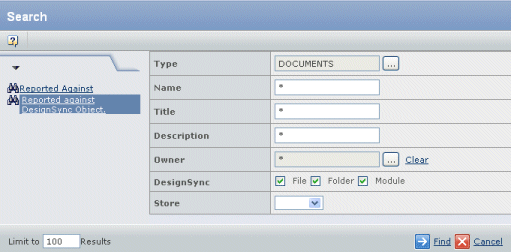
for using the Type selection page.Description Type details about the issue. Reported Against Click to search for the object you want to create
the issue for. For a system without DesignSync file access, see reportedagainst; for a system with DesignSync file access, see reportedagainstdsfa.Escalation Required If the issue requires upper management support for resolution, click Yes. Estimated Start Click  and select the date
on which issue resolution will begin.
and select the date
on which issue resolution will begin.Estimated Finish Click and select the date
on which issue resolution will end.Priority Select the priority for the issue. Values are Pre-assigned, Medium, Low, High, or Urgent. Co-owners Click to search for and select one or more people
who will be responsible for the issue.Problem Type Select the type of problem from the drop-down list. Resolution Recommendation Type details if you have a recommendation for how to resolve the issue. Steps to Reproduce Type a procedure for reproducing the problem causing the issue. Category/Classification Click to select a category for the issue.
To expand a category:
- Click the "+" sign.
- Click the button next to the category or classification you want to select.
- Click Done.
Reporting Organization Click to search for and select the company that
is reporting the issue.
Policy If the property to display the policy list is set to "True" in the properties file, select a policy from the drop-down list. Otherwise, this is a read-only field. Vault Select the vault to contain the issue. To define the Reported Against value for an Issue for a system that does not have DesignSync file access active, follow these steps:
- Click for Reported Against to search for the object you want to create
the issue for.
The selected or newly-created object is entered in the Reported Against field.
- Click
To define the Reported Against value for an Issue for a system with DesignSync file access, follow these steps:
- Click for Reported Against to search for the object you want to create
the issue for.
The selected or newly-created object is entered in the Reported Against field.
- Click